Connect with us!

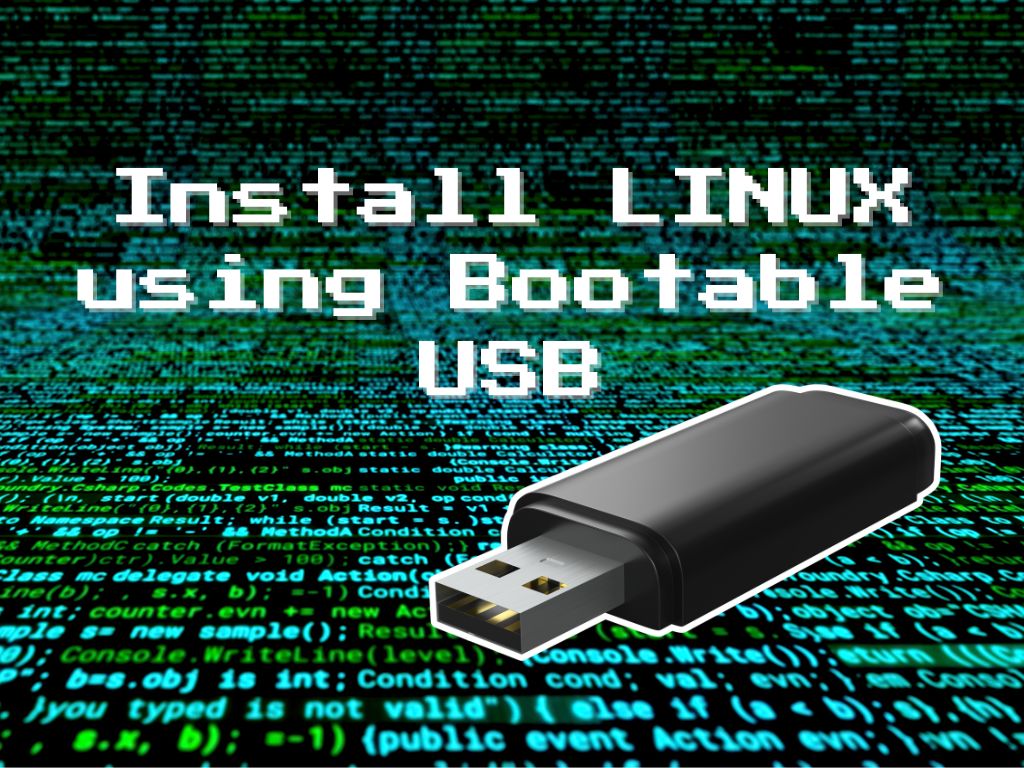
Crafting a Bootable Linux USB: Your Essential Guide
Are you ready to delve into the world of Linux? For newcomers and seasoned tech enthusiasts alike, the initial hurdle is to accomplish a flawless installation of your chosen Linux distribution. Fret not—modern Linux installers are a breeze, turning what could be a daunting task into a simple process. If you can navigate the installation of a typical piece of software, mastering Linux setup will be a piece of cake.
Table of Contents
Step-by-Step: Making your Linux USB Stick
Preparing your bootable Linux USB drive is straightforward. Gather the following:
- An ISO image of your preferred Linux distribution.
- A computer with an available USB port.
- A USB flash drive sporting a minimum of 16GB.
- Software to craft your bootable USB, with UNetbootin being a top pick across Linux, MacOS, and Windows.
UNetbootin stands out due to its versatile support across operating systems. Download and install the application with ease—the process mirrors that of any standard macOS or Windows application.
Download Your Preferred Linux ISO
Before embarking on the USB creation journey, select from a list of standout Linux distributions:
Armed with your chosen ISO file, you’re set to create your bootable USB drive.
1. Insert the USB Drive
Initiate the process by plugging your USB stick into your computer. Make sure it’s detected and that you take note of its designation—this is critical for the steps to follow.
2. Fire Up UNetbootin
Navigate to your computer’s desktop menu and open the UNetbootin software.

3. Distribution Selection
UNetbootin offers you the flexibility to either utilize the ISO file you downloaded or to select from a list of distributions integrated into the application. Opting for an inbuilt distribution? Ensure the most recent version is selected from the drop-down menu.

4. Specify Your Bootable USB Drive
With great care, ensure the USB Drive is chosen from the Type menu and that the correct USB device is selected from the subsequent drop-down. Be especially cautious—UNetbootin will wipe your USB drive clean, so disconnect any other externals that are not intended for this purpose.
5. Initiate the Image Burn
All set? Click ‘OK’ to begin. UNetbootin first fetches the ISO file (if it’s not already saved on your computer), extracts the necessary files, and then meticulously installs the bootloader, wrapping up the entire process.
Patience is key, as this could span anywhere from 5 to 15 minutes, dependent on network speeds and system performance. UNetbootin might appear to pause temporarily during file transfer and extraction, but this is normal.
Completion and Ejection
As the procedure wraps up, select ‘Exit’, then safely remove your USB device. Your bootable Linux USB is now prepared to breathe new life into your machine. Plug it into your target computer, boot up, and follow the on-screen instructions to install your chosen Linux OS.
Embarking on your Linux adventure is now as effortless as creating your personalized, bootable Linux USB drive. With these steps, your gateway to open-source exploration is within easy reach.


