Connect with us!
Step-by-Step Guide on Using Google Fonts in Your Web Projects
When it comes to enhancing the typography of your website, Google Fonts is a go-to resource. Offering a vast collection of free fonts, Google Fonts allows you to easily integrate beautiful typography into your web projects. In this article, we’ll walk you through the process of using Google Fonts, step by step, to help you create visually appealing and readable text that complements your web design.
Why Use Google Fonts?
Google Fonts provides a wide array of typefaces that are optimized for the web, ensuring fast load times and excellent cross-browser compatibility. Whether you’re aiming for a modern, minimalist look or something more playful and creative, Google Fonts has you covered.
Step 1: Selecting Your Fonts
The first step in using Google Fonts is to choose the typefaces that best suit your project’s needs.
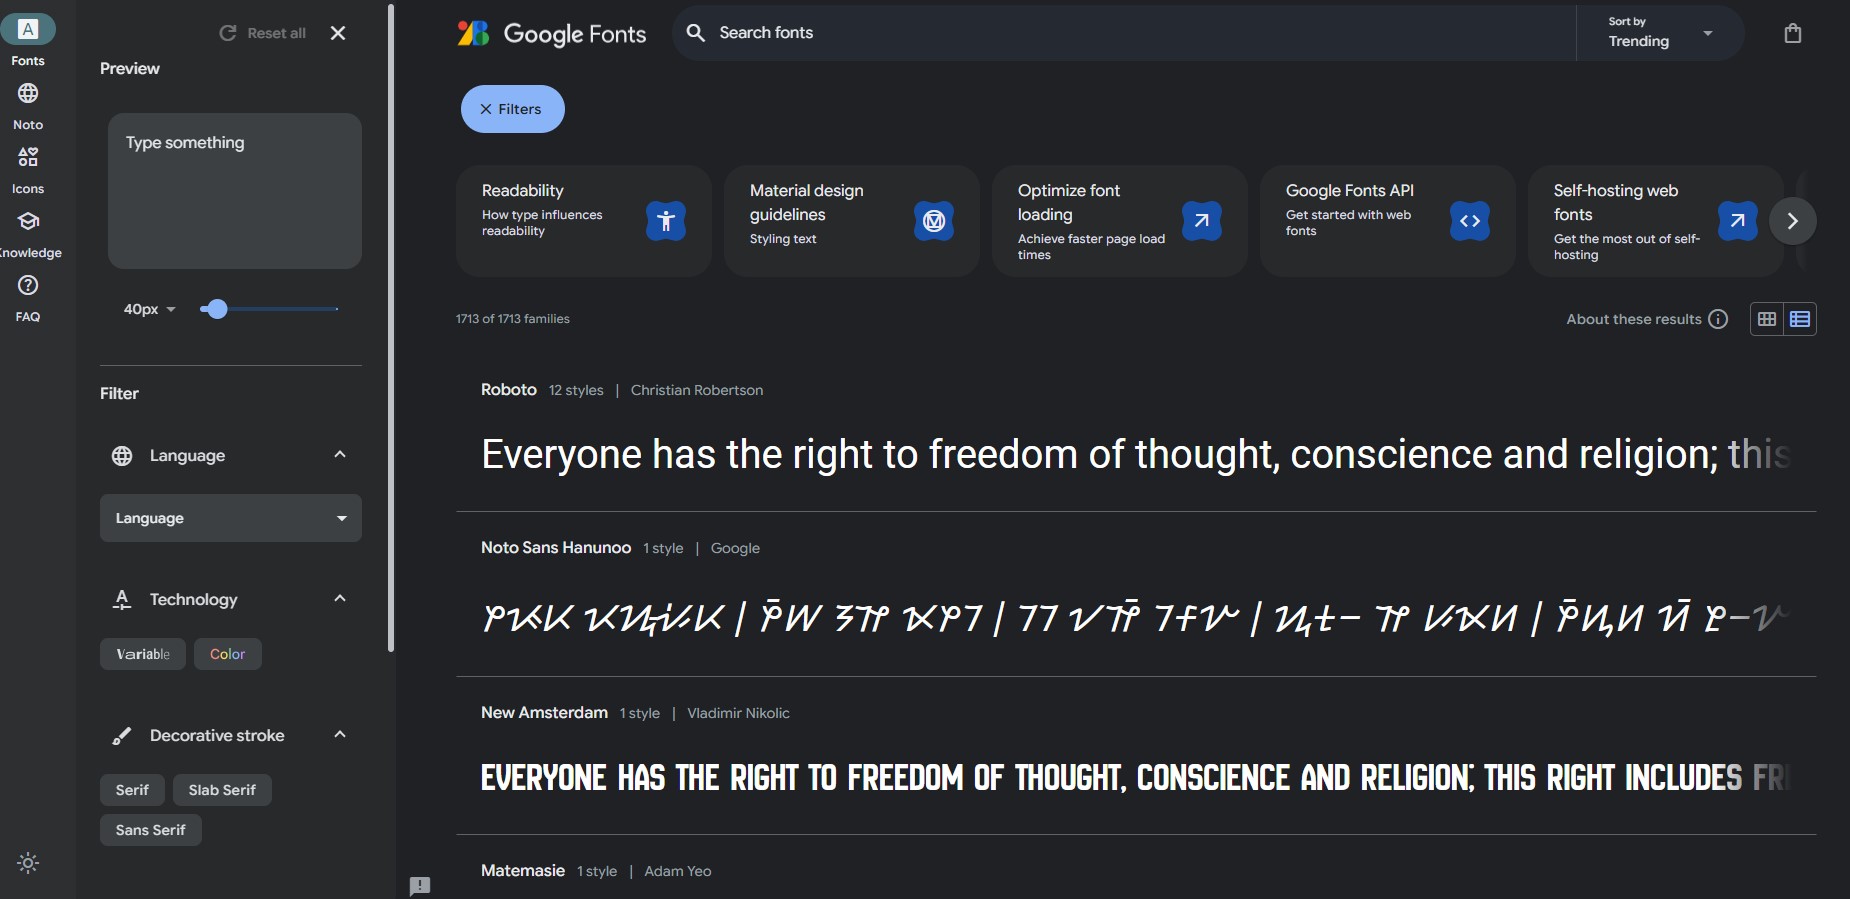
- Visit Google Fonts: Head over to the Google Fonts website.
- Browse the Collection: Use the search bar or browse categories like Serif, Sans Serif, Display, or Handwriting to find the perfect font.
- Preview the Fonts: Click on any font to see a preview. You can also adjust the text size, style, and compare it with other fonts.
Pro Tip: Choose fonts that complement each other. For instance, pairing a bold Sans Serif header with a clean Serif body text can create a balanced and professional look. For more design tips, check out our article on Building A Login page in GTA 5 Style Using HTML,CSS &JavaScript.
Step 2: Adding Fonts to Your Selection
Once you’ve found the fonts you like, it’s time to add them to your selection.
- Select the Font: Click on the ‘+’ button next to your chosen font. This adds the font to a list at the bottom of your screen.
- Customize Your Selection: Click on the font family tab at the bottom to customize your selection. You can choose different weights and styles (e.g., regular, bold, italic).
Step 3: Embedding the Fonts in Your Website
After selecting and customizing your fonts, the next step is to embed them into your website.
- Copy the Embed Link: In the font family tab, Google Fonts provides an
<link>tag you can copy. It looks something like this:
<link href="https://fonts.googleapis.com/css2?family=Roboto:wght@400;700&display=swap" rel="stylesheet">- Add the Link to Your HTML: Paste the
<link>tag into the<head>section of your HTML file. This ensures that the fonts are loaded before the content is displayed:
   <!DOCTYPE html>
   <html lang="en">
   <head>
       <meta charset="UTF-8">
       <meta name="viewport" content="width=device-width, initial-scale=1.0">
       <link href="https://fonts.googleapis.com/css2?family=Roboto:wght@400;700&display=swap" rel="stylesheet">
       <title>My Website</title>
   </head>
   <body>
       <!-- Your content here -->
   </body>
   </html>
Step 4: Applying the Fonts in CSS
With the fonts embedded in your HTML, it’s time to apply them using CSS.
- Define the Font in CSS: In your CSS file, you can now specify the font family for different elements. For example:
   body {
       font-family: 'Roboto', sans-serif;
   }

   h1 {
       font-family: 'Roboto', sans-serif;
       font-weight: 700; /* Bold */
   }

   p {
       font-family: 'Roboto', sans-serif;
       font-weight: 400; /* Regular */
}- Customize Further: Adjust font sizes, line heights, and letter spacing to fine-tune the appearance of your text.
Related Article: Learn more about customizing fonts and other CSS properties in our guide on Neon Text Glow Effect.
Step 5: Optimizing for Performance
To ensure your fonts load quickly and efficiently:
- Choose Only What You Need: Only select the font weights and styles you plan to use. This reduces the file size and load time.
- Enable Font Display Swap: Google Fonts includes a
&display=swapparameter in the link tag, which ensures text is visible during the font loading process. Keep this enabled for better user experience.
Conclusion
Incorporating Google Fonts into your web projects is a straightforward process that can significantly enhance the visual appeal of your site. By following this step-by-step guide, you can effortlessly integrate beautiful, web-optimized fonts into your design. For more tips and tutorials on web development, be sure to explore the rest of our articles at Salow Studios.